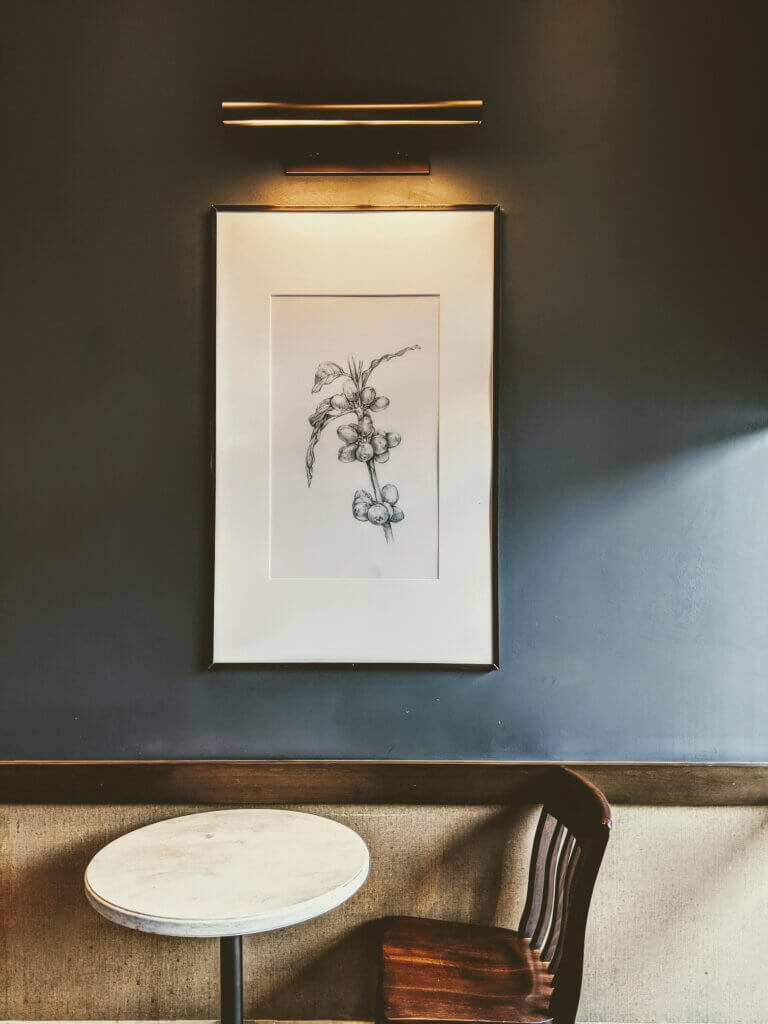
Are you looking to add an artistic touch to your home or workspace? An acrylic frame is an ideal way to present compelling artwork, photographs, inspirational quotes, or favorite cartoons all while adding a contemporary feel to any décor. When getting started with making a DIY acrylic frame you will need to decide which size acrylic you may want. Extruded acrylic is transparent, moisture resistant, and half the weight of glass, but many times stronger. Acme Plastics’ acrylic extruded clear sheets are available in a wide selection of thicknesses, sheet sizes, and can be custom cut to your specifications. Extruded acrylic is transparent, moisture resistant and half the weight of glass. Using a table saw, cut-to-size acrylic can be easily cut to make a frame or other DIY projects you may have in mind.

Step 1: Choose the Photo
The first step in making your DIY acrylic frame with cut-to-size acrylic is choosing the photo. Photograph and order a high resolution and high quality image from a professional printer. Make sure the photo and your cut-to-size acrylic are the same measurements.
Step 2: Prepare the Acrylic
When preparing the cut-to-size acrylic, first place painter’s tape on the front and the back of the piece and leave it on so it doesn’t get scratched. This will help identify where the drill holes need to go. Ensure the holes on both acrylic pieces of the cut-to-size acrylic line up and the hardware can go into the four holes you have created. If not, with caution, drill and modify as needed.
Step 3: Clean the Acrylic
Once the hardware is on and the drilling is complete you will need to clean the acrylic pieces with a non-abrasive cloth to remove any debris and dust. Also, as a precaution to not scratch or damage the acrylic pieces, use a blow dryer to dust off any small pieces that may remain on it from the machining. Microfiber cloths, mild soap, and water is recommended when caring for the cut-to-size acrylic sheets.
Step 4: Secure Your Photo on the Acrylic with Glue Dots
Now it’s the moment you’ve been waiting for—positioning the photo or artwork between the two pieces of cut-to-size acrylic. Simply use glue dots on the back of your artwork and a paint swatch to hold them in place.
Step 5: Hang the Acrylic Frame on the Wall
The trickiest part of the project happens within this step—hanging the frame. Mark where each hole should be drilled on your wall. Paint the mounting hardware to match your home or office decor. Place the tube portion of the mounting hardware into the predrilled holes, then align the hole of your frame and screw it into the wall. Tip: It’s important to be precise with this step, measure and make small marks on the wall to ensure the acrylic frame is even.
Final Thoughts
Making an acrylic frame from cut-to-size acrylic sheets is a wonderful way to add a sleek, minimalist look to any space while adding interest to your decor. Have questions about cut-to-size acrylic sheets? Contact our team to answer any questions you may have about getting started.

